Online Course Platform "Zoho Showtime" User Guide
Before the course starts
"Zoho Showtime" is the online platform for virtual class and webinar.
In order to attend successfully, please go through below
user guide which helps you familiar with the platform.
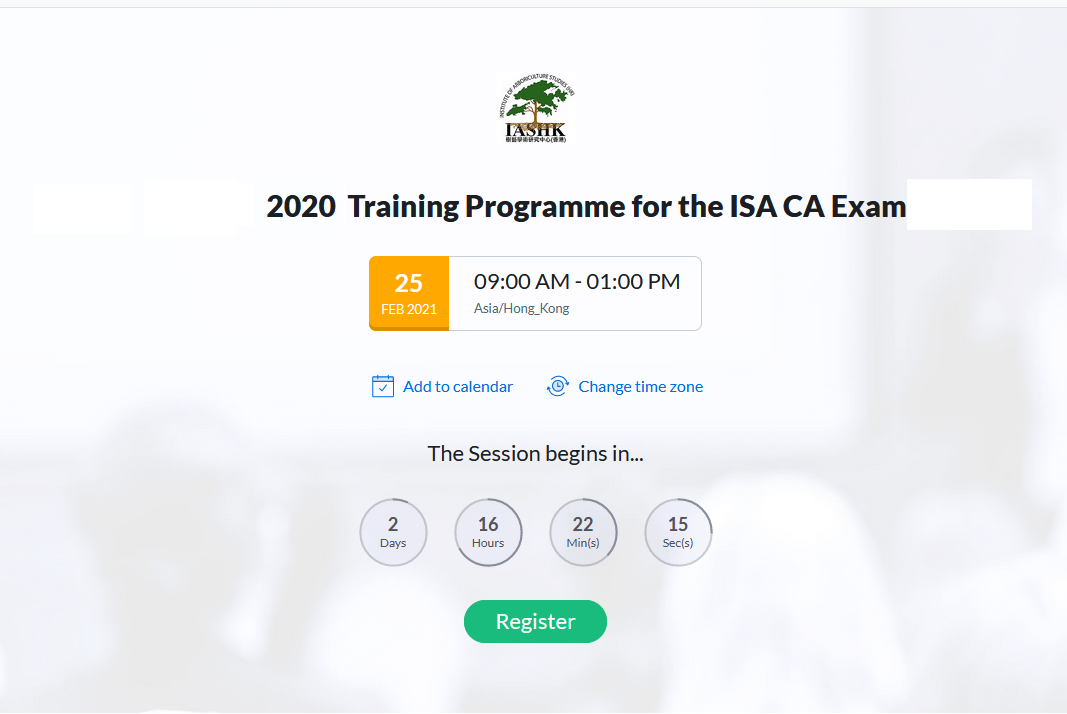
1. Click the "Register Now" in the email sent by course
coordinator. It will direct you to the register web page. Click
"Register".
 Click the image for enlarged version.
2. Fill in the information requested. Then, click "Register Now".
3. After registration, do not close the window.
** Please be reminded that the webinar join link is the same as the invitation link. Keep the invitation email and click the link again on the event date.
4. Scroll down the website. You can verify your system whether our platform supports or not. Click "Verify" to check.
** In order to attend
the webinar with the better resolution, the latest version of the Chrome desktop
version and Firefox desktop version are recommended.
5. The website will check the browser, your audio,
video, microphone. This platform doesn't require attendees to turn on
video and microphone. However, the platform allows attendees to speak
via microphone during the session. The attendees can also turn on the
video when they speak. So, preparing the webcam and
microphone for system check is recommended.
Click "Allow" when the browser asks for microphone and video permission.
6. If you
find that your system is not compatible after verification, please
download "Zoho Showtime" desktop app. For details, please click the
following link:
7. If you join the lesson via mobile (not recommended), please download "Zoho Showetime Viewer" mobile app in Android and ios devices.
Join the session
1. On the event date, click the join link in the invitation email at least 15 mins before the webinar starts.
2. If you use "Zoho Showtime" desktop app or mobile app, copy the course
link and paste it on the start page. Then, click "Join the session".
3. The web browser and the desktop app will check your system again. Click "Continue" after checking.
4. If you can see and hear the host or the educator, it means you are ready for the webinar.
** During the session, DO NOT leave
the platform and DO NOT minimize the window. If not, the attendance will not be counted.
Zoho Showtime viewer platform functions
1. Main Screen
3. "Questions" Panel
The presentation will be shown in this section.
2. Sub screen
The educator's and permitted participant's video will be shown in this section.
If
you have questions to ask the educator, click "Questions" and type your
question. Click "Ask Question" to post. It will not be shown to all the attendees until the educator project the questions to the attendees.
** Asking questions in the public chatroom and private chatroom is not recommended because the educator may not be able to see the questions.
4. "Polls" panel
Educator can ask questions using
"Polls" panel. When he/ she posts the question on the screen, you
can simply answer the question anonymously. You can check the questions
and answers in "Polls" panel later on.
All participants can communicate together in this panel. Type your message in the message box and click "Send".
**
If you would like to ask the educator questions related to the webinar,
"Questions" function should be used. Educator may not able to read your
questions in chat panel.
**
If you would like to chat with the educator privately, you can click "Chat
with trainers" and type the message in the separate message box.
However, the educator may not be able to response at once during the webinar.
6. "Handouts" Panel
Handouts can be obtained in this panel if the educator upload here.
7. "Raise hand" Panel
If
you would like to speak or ask questions verbally, you can click "Raise
hand". Make sure the microphone and/ or video is ready. The system may
ask for permission to access your microphone and/ or video. Click "Allow".
After the educator accepts your request, you can unmute your microphone
by clicking "Yes" at the top of the panel. See below image.
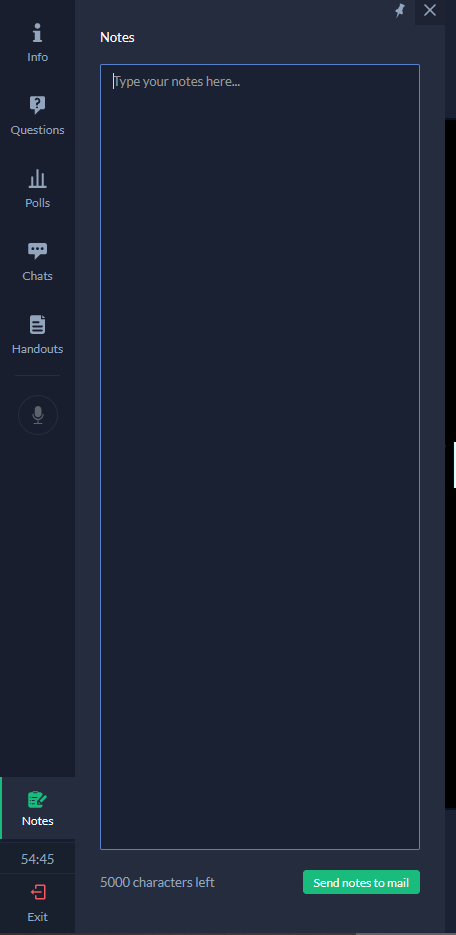
8. "Notes" Panel
 Click the image for enlarged version.
9. "Exit"
You can write notes in this panel. This is
for your own use only. No one can access to your notes. Send the notes to your own email account before the session ends. Your notes will not be retrieved after the session.
Click "Exit" to end the session.
**If you exit before the session ends, the attendance will not be counted.
Related Articles
Online Platform "TrainerCentral" User Guide (for Educator)
Introduction Zoho TrainerCentral (https://www.trainercentral.com) is an online course platform designed to facilitate live sessions and learner engagement. In this platform, a Trainer is responsible for delivering course content, conducting live ...Webinar Platform "TrainerCentral" User Guide (for Host)
Before the webinar starts 1. Webinar platform "TrainerCetnral" has to be run in internet browser. In order to access the platform without any problem, check and update the version of the browser before the webinar starts. Google Chrome version 38+ or ...Online Platform "TrainerCentral" User Guide (for Learner)
Before the webinar starts 1. In order to access the platform without any problem, check and update the version of the browser before the webinar starts. Only Google Chrome version 72+ and Mozilla Firefox version 65+ or Microsoft Edge version 79+ are ...Access to Digital Arborists' Certification Study Guide
Please follow below steps to access to Digital Arborists' Certification Study Guide: 1. Go to https://www.isa-arbor.com/. Click "MYISA" icon at the top right corner to log in. 2. After logging in, you will be directed to "MY DASHBOARD" page. Click ...Apply for ISA Certified Arborist Examination
Overview ISA Certification is a voluntary program that tests and certifies the achievement of a professional level of knowledge and skill in the field of arboriculture. When the arborist becomes an ISA Certified Arborist®, he/ she is recognized by ...